


On 6 August 1915, the Battle of Sari Bair marked a critical juncture within the broader Gallipoli Campaign during World War I. Orchestrated by General Ian Hamilton, the Allied offensive aimed to break the stalemate that had ensnared the Gallipoli peninsula since the initial landings in April.
Hamilton’s strategy encompassed a multifaceted assault. ANZAC forces, predominantly composed of Australian and New Zealand troops, were tasked with capturing the strategic high ground at Chunuk Bair and Hill 971. Simultaneously, British divisions, under the command of Lieutenant General Stopford, would conduct a landing at Suvla Bay to reinforce the main offensive.
The ANZAC advance faced formidable challenges from the outset. Ascending steep slopes under heavy fire from Ottoman defenders, the troops fought bravely but struggled to gain a decisive advantage. Despite temporary success in capturing Chunuk Bair, the New Zealanders were unable to hold the position against determined Ottoman counterattacks.
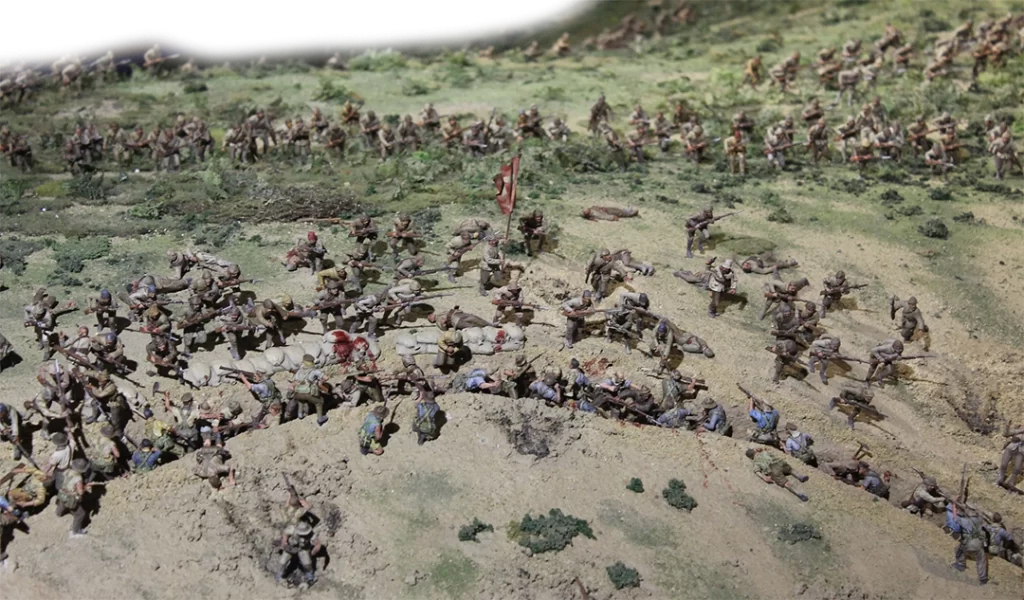
Meanwhile, Australian troops carried out a diversionary assault at Lone Pine Ridge, intended to draw Ottoman forces away from the main engagement. This maneuver proved to be one of the few successes of the offensive, as the Australians, in a display of extraordinary courage, managed to seize and hold the position against fierce opposition.
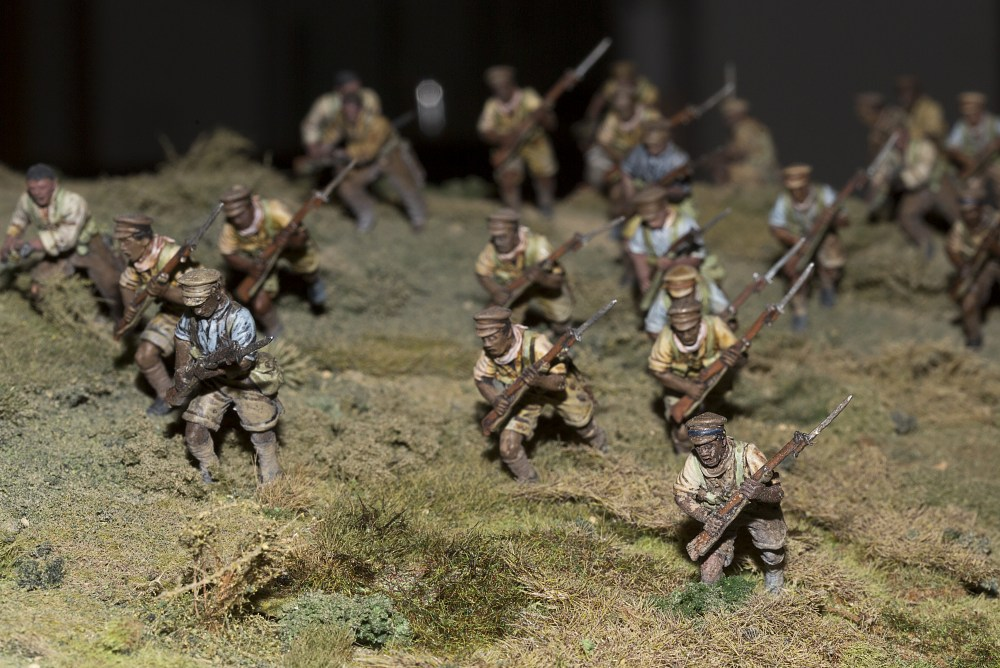
The Ottoman defenders, anticipating the renewed Allied offensive, had reinforced their positions, aided by German troops. This bolstered their defenses and made the Allied advance even more challenging.
The British landing at Suvla Bay, however, descended into chaos. Hindered by poor planning, inadequate reconnaissance, and inexperienced leadership, the operation failed to achieve its objectives. Troops struggled to locate their designated landing zones in the darkness, exacerbating the confusion and disarray.
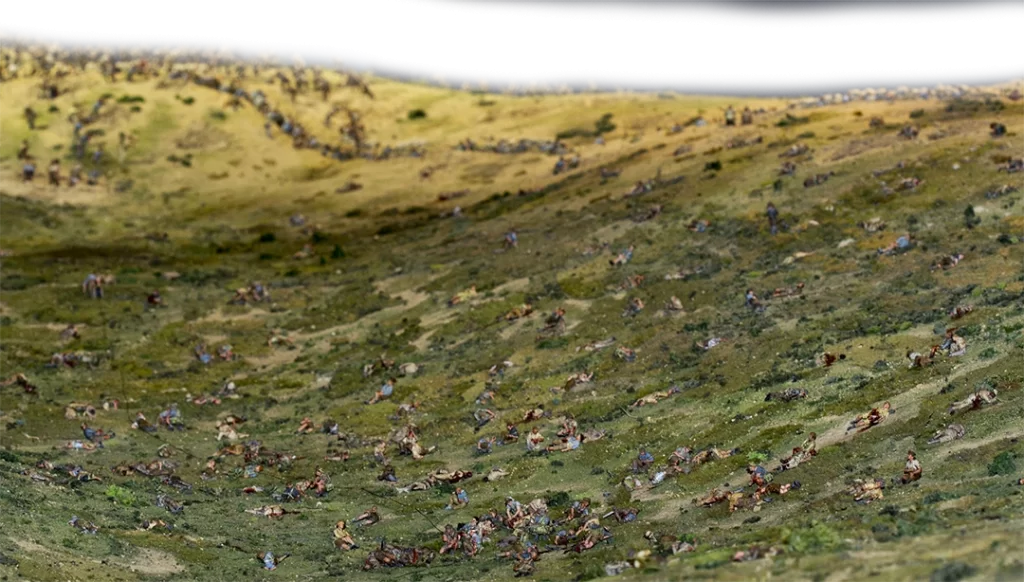
Despite the valiant efforts of the Allied forces, the offensive ultimately faltered. Ottoman reinforcements bolstered their defenses, repelling further advances and solidifying their positions. The campaign devolved into a grueling stalemate, characterised by relentless fighting and mounting casualties on both sides.
General Hamilton’s ambitious plans came under intense scrutiny in the aftermath of the battle. Lieutenant General Stopford, whose leadership was criticised for the failures at Suvla Bay, was relieved of his command. Hamilton himself faced mounting pressure, ultimately leading to his removal from command of the Mediterranean Expeditionary Force.
The Battle of Sari Bair marked a turning point in the Gallipoli Campaign. Recognising the untenable situation on the peninsula, the Allied forces began preparations for a withdrawal. By January 1916, the last remaining troops had been evacuated, bringing an end to one of the most ill-fated campaigns of World War I.
References
Aspinall-Oglander, C. F. (1992). Military Operations Gallipoli: May 1915 to the Evacuation (Imperial War Museum and Battery Press ed.). London: Heinemann. (Original work published 1932).
Bean, C. (1941). The Story of Anzac from 4 May 1915, to the Evacuation of the Gallipoli Peninsula (11th ed.). Official History of Australia in the War of 1914–1918, Vol. II. Canberra: Australian War Memorial. (Original work published 1921). OCLC 39157087.
Cameron, D. W. (2009). ‘Sorry, lads, but the order is to go’ : the August Offensive, Gallipoli : 1915. Sydney, Australia: UNSW Press. ISBN 9781742230788. OCLC 647917261.
